

The Plugin Digital Exhibitions by WallMuse brings exhibition-grade curation, multi-screen display and rights management into these sites. A site can show free creative content to attract an audience, and reserve copyrighted content for paying subscribers, members or other supporters.
Your exhibition, live in hours.
Install the plugin, upload your works, add one shortcode. No coding, no developer, no platform in between.
- Live in hours, not months. Batch upload and the curation wizard do the heavy lifting, so your first exhibition goes online the same day. If you’d rather have it branded and hosted for you, WallMuse can handle a Custom App, ready in 30 days.
- Free to start, no code. The free plan shows Creative Commons and public domain works with 500 MB of storage. Upgrade only when your collection or your needs grow.
- Every display, in sync. The same exhibition plays on phones, tablets, smart TVs and signage, and across several displays together (Pro and Studio).
- Yours: your domain, your audience, your rights. Visitors come to your site, with no algorithm between you and them. Credits stay attached to each work. Show free content to everyone and reserve copyrighted content for members or subscribers (Pro and Studio).
- One exhibition, many uses. You curate once and show it wherever it’s useful:
- An creative shows work on displays at an event, with nothing to ship.
- A library invites local artists to present their work on its screens and its digital sharing catalogue.
- An editor sets up a pool of researchers and curators to explore a theme together.
Some Typical Users
- Arts and heritage: Independent artists and photographers, galleries, drama or performance producers, museums and heritage sites.
- Collectors and researchers: collectors, historians, archives, local history societies, libraries, universities and schools.
- Newsrooms: photojournalists and local news, showing rolling photo or video stories on a screen.
- Digital signage: hotels, shops, lobbies, restaurants, waiting rooms, showrooms, churches, festivals and events.
- Independents: anyone who wants to show work on their own domain, without a platform or its algorithm.
WallMuse has built digital exhibition software since 2011.
-
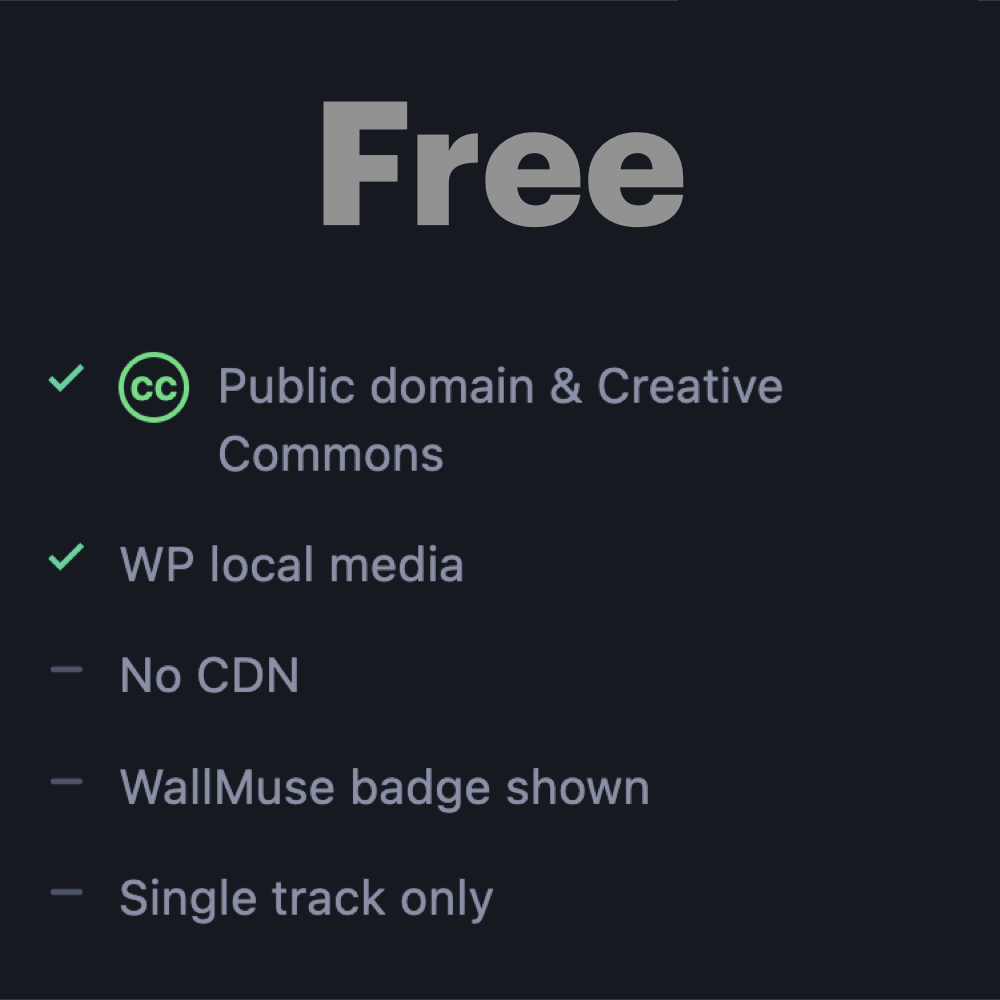
WallMuse Plugin Free
0,00€ / month -
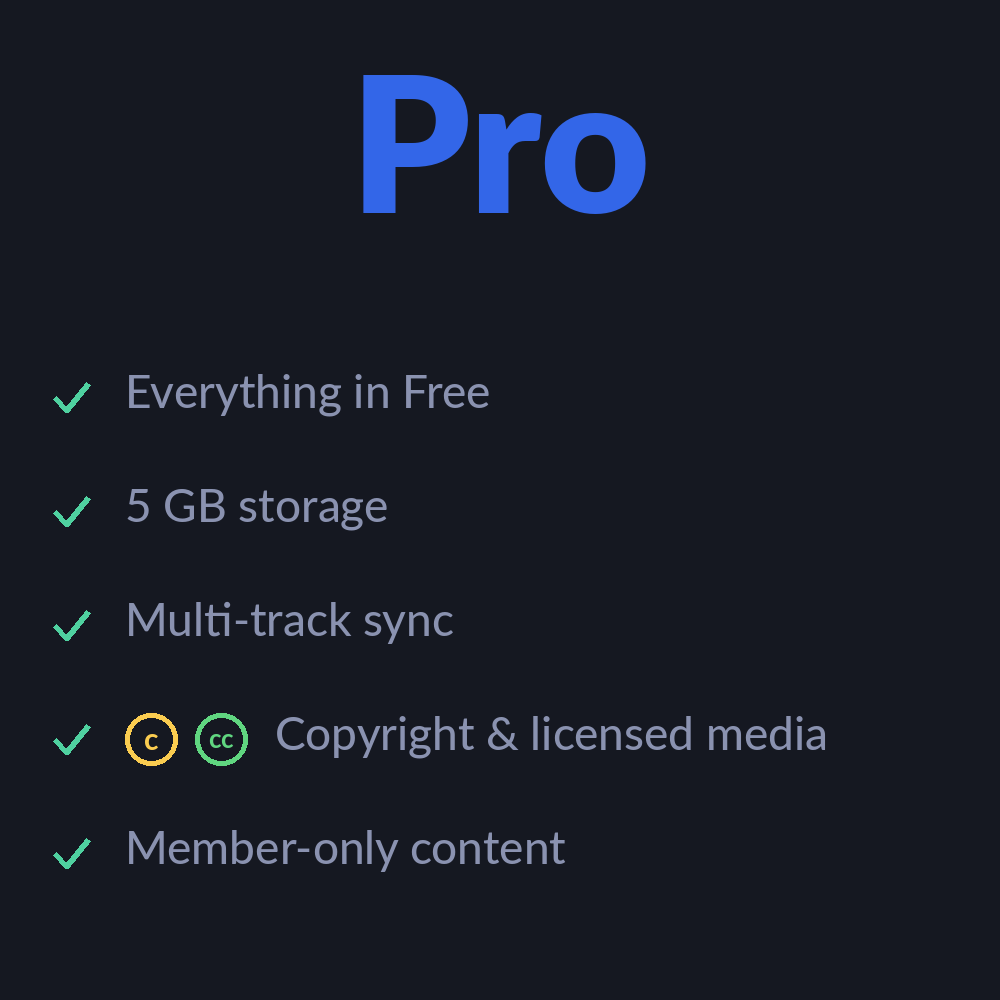
Pro Plugin
From: 39,00€ / month -
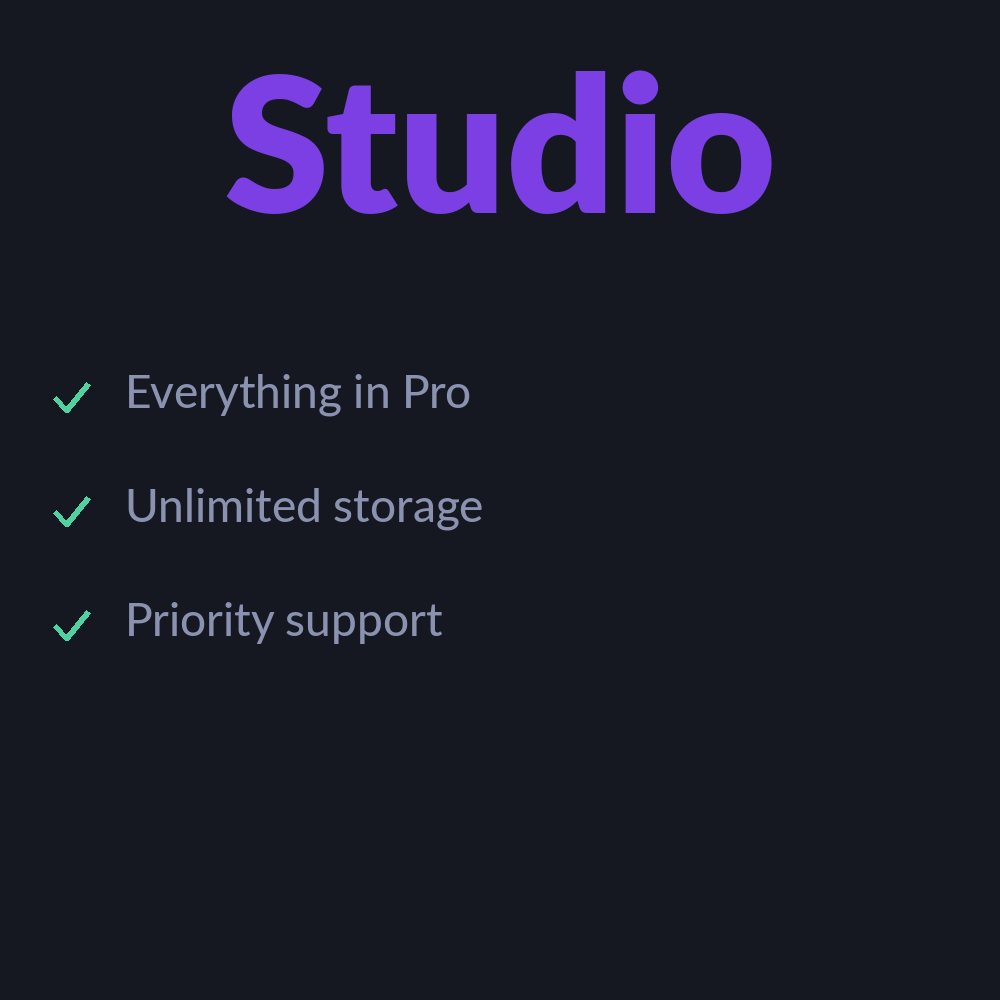
Studio Plugin
From: 99,00€ / month
Quick start
Go from nothing to a live exhibition in six steps.
- Get the plugin. Go to wallmuse.com/wallmuse-plugin/, choose a plan (Free costs nothing) and sign up. Then in WordPress go to Plugins → Add New → Upload Plugin, upload the file and click Activate.
- Connect. In WordPress go to WallMuse → Settings → Admin Connection & Plans. Click Create Account — your API key is filled in automatically. Then click Save & Connect and register your domain. Wait for the green indicator. (see Guide p. 5).
- Add two pages. Create a page named for example “Exhibitions” containing
[wallmuse_player]. Create a page named “Curate” containing[wallmuse_curator], and, if desired, set it to Private so only your team see (see Guide p. 11). - Add your content. Open your Curate page, click Add Content, then fill in the title, author, date, category, media and rights. On the Free plan, choose Public Domain or Creative Commons. For many files, use Batch Upload (see Guide p. 13).
- Curate an exhibition. On the Curate page, let the Curation Wizard build one automatically, or drag content onto the Planner. Click Save Exhibition (see Guide p. 18).
- Play and share. Open your Play page, select your exhibition, add it to a playlist and press Play. Open the same page on each display you want to use, and share the link (see Guide p. 23).
You’re live. Everything else is optional: match your site’s appearance (see Guide p. 7), let visitors try a demo immediately and sign up or try in accounts (see Guide p. 7), or translate for multilingual sites, the [wallmuse_player] and wallmuse_curator] (see Guide p. 12).